
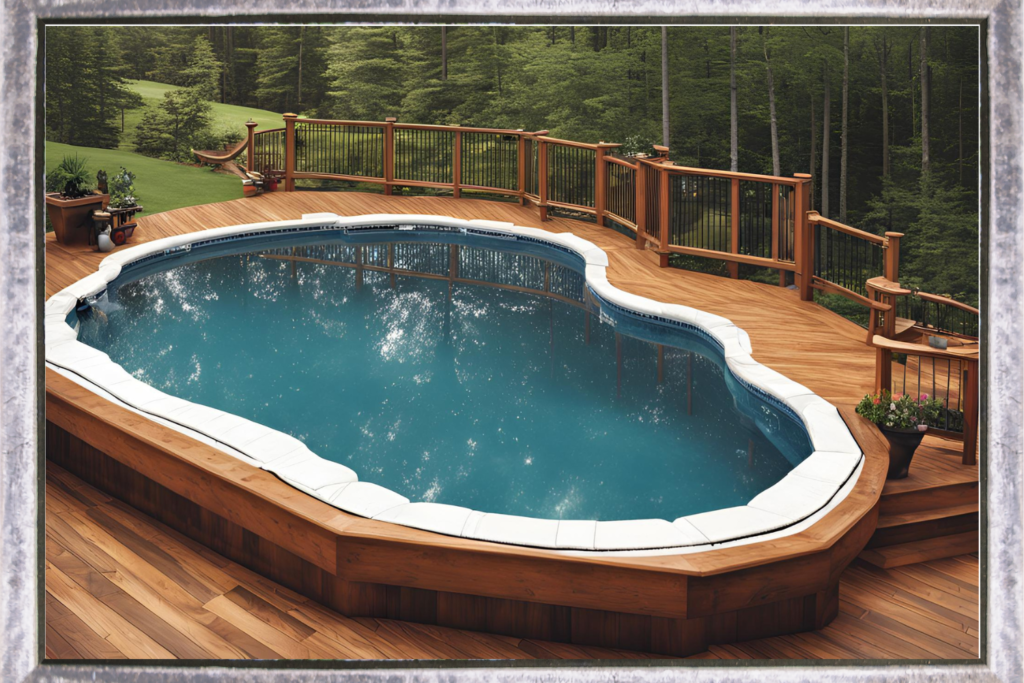
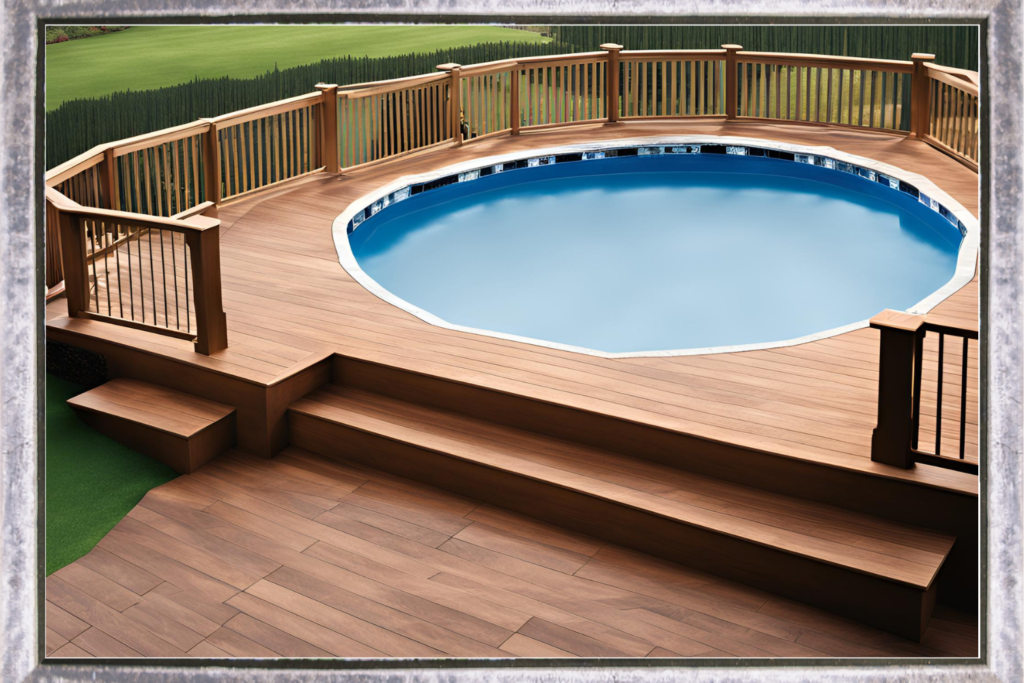
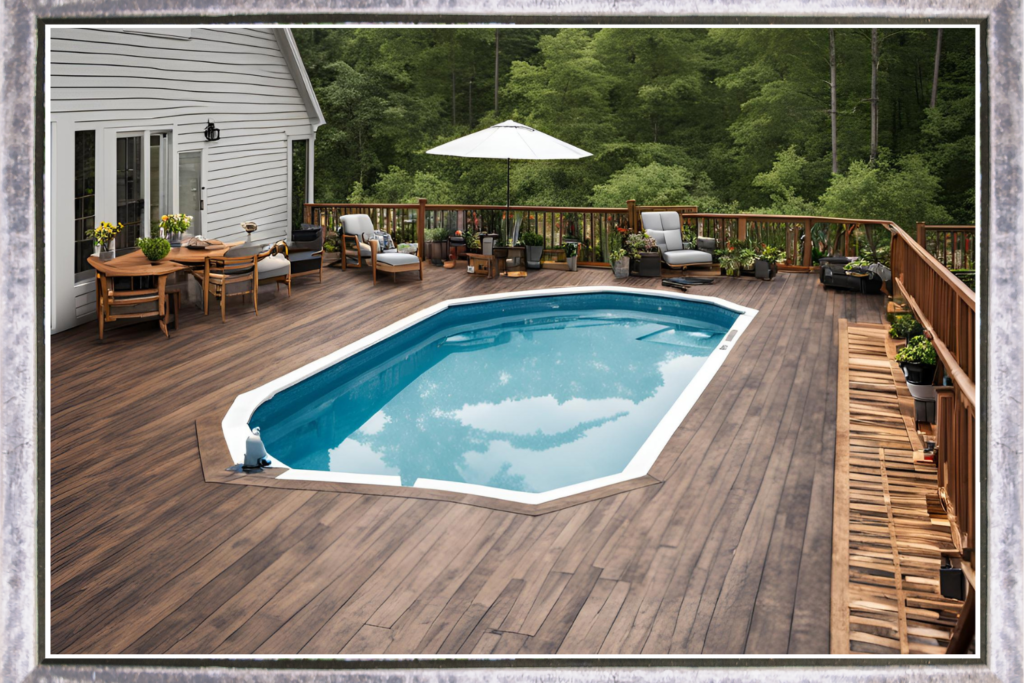
Building an above ground pool deck is a great way to enhance the functionality and aesthetic appeal of your swimming pool. Not only does it provide a safe and convenient space to lounge and enter the pool, but it also adds significant value to your property. This comprehensive guide will walk you through the entire process, from planning to final touches, ensuring you have all the information you need to build a stunning and durable deck.
This post may contain affiliate links. As an Amazon affiliate, we earn from qualifying purchases. But we only recommend products we would use ourselves. View our Disclosure Policy here.
1. Planning and Design
The first and most crucial step in building an above ground pool deck is careful planning and design. This involves deciding on the size, shape, and layout of the deck, as well as selecting the materials you will use.
Assessing Your Space:
- Measure the area around your pool to determine the maximum size of your deck.
- Consider any existing landscaping and structures that might affect the placement and size of the deck.
Choosing the Deck Shape and Design:
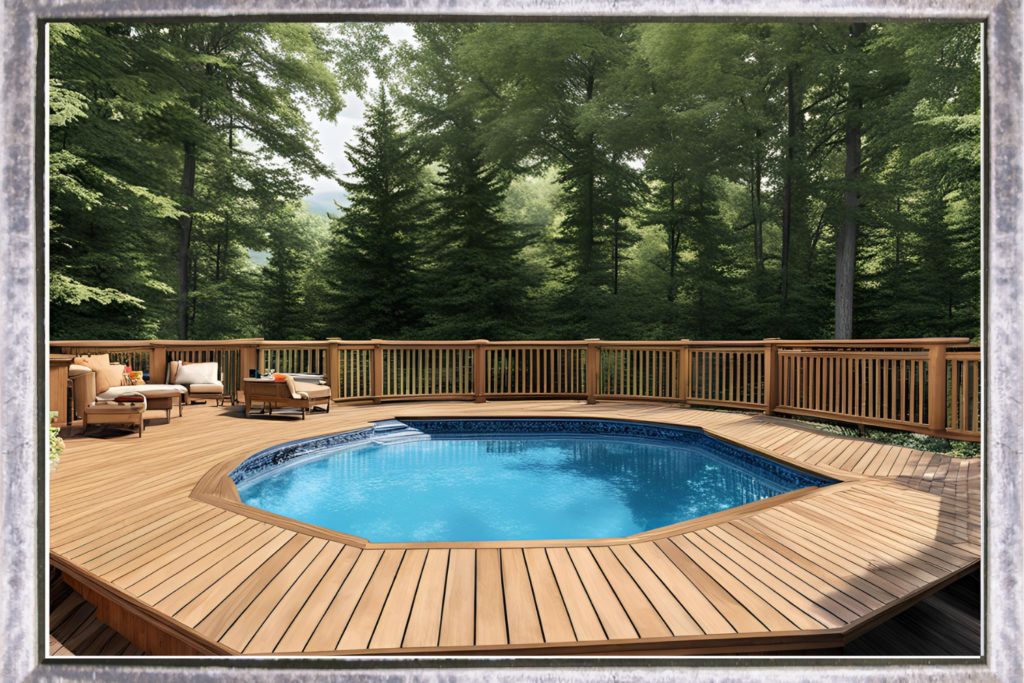
- Decide whether you want a wrap-around deck, a partial deck, or a freestanding deck.
- Sketch a rough design that includes dimensions and layout. This will serve as a blueprint for your project.
Selecting Materials:
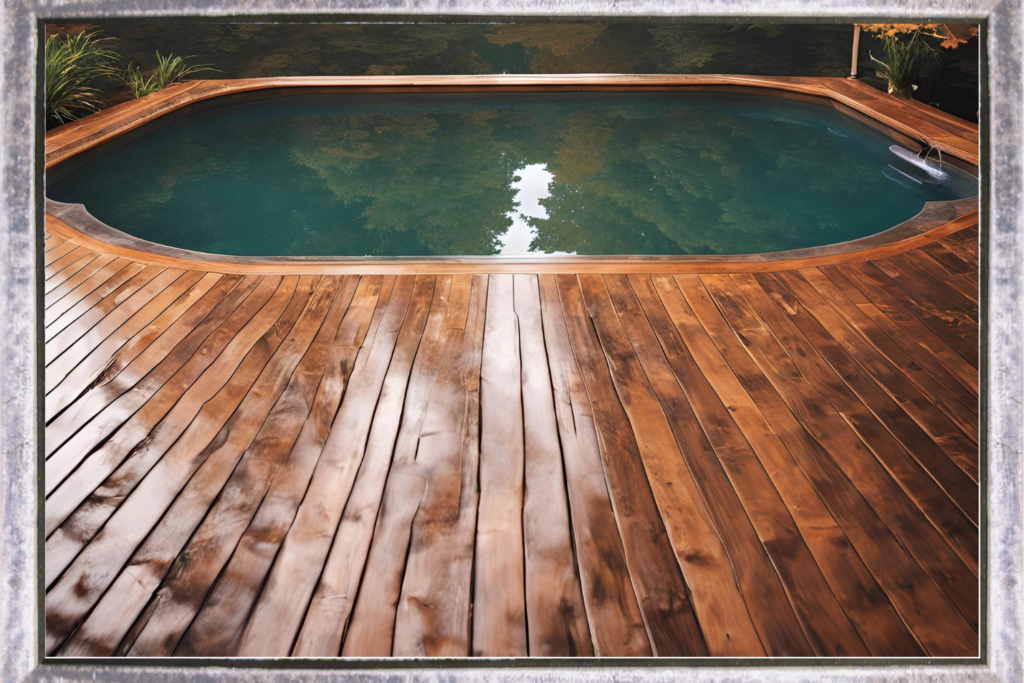
- Common materials for pool decks include wood, composite decking, and PVC decking.
- Each material has its pros and cons in terms of cost, durability, and maintenance. For instance, wood is affordable and easy to work with but requires regular maintenance, whereas composite decking is more expensive but low-maintenance and durable.
Compliance with Local Codes:
- Check with your local building authority for any codes or regulations that you need to follow, such as height restrictions, setback requirements, and railing specifications.
- Obtain any necessary permits before starting construction.
“Proper planning is essential. It’s not just about the look but also about safety and compliance with local codes. Skipping this step can lead to costly mistakes later on.” – Mark Simmons, Deck Installation Expert
2. Gathering Materials and Tools
With your design and plan in hand, the next step is to gather all the necessary materials and tools.
Materials:
- Pressure-treated lumber (for framing)
- Decking boards (wood, composite, or PVC)
- Concrete mix (for footings)
- Joist hangers and brackets
- Galvanized screws and nails
- Railings and balusters
- Stairs materials (if applicable)
Tools:
- Tape measure
- Level
- Circular saw
- Power drill
- Hammer
- Post hole digger
- Shovel
- Concrete mixer (optional)
- Safety gear (gloves, goggles, ear protection)
3. Preparing the site
Before you start building, you need to prepare the site to ensure a solid foundation for your deck.
Clearing the Area:
- Remove any grass, plants, and debris from the area where the deck will be built.
- Ensure the ground is level. You may need to add or remove soil to achieve a flat surface.
Marking the Layout:
- Use stakes and string to outline the perimeter of your deck.
- Mark the locations of the support posts.
Digging Post Holes:
- Dig holes for the support posts at least 18-24 inches deep, depending on local frost line recommendations.
- The holes should be about three times the width of the posts for stability.
4. Installing footings and posts
The footings and posts are the foundation of your deck, providing support and stability.
Pouring Concrete Footings:
- Mix the concrete according to the manufacturer’s instructions.
- Pour concrete into the post holes, ensuring it fills the holes completely.
- Set post anchors in the wet concrete, making sure they are level and properly aligned.
Setting the Posts:
- Once the concrete has cured, insert the pressure-treated posts into the anchors.
- Use a level to ensure each post is vertical.
- Secure the posts with temporary braces until the framing is in place.
5. Building the frame
The frame is the skeleton of your deck, providing the structure to support the decking boards.
Installing the Ledger Board:
- Attach the ledger board to the side of your pool (or house, if applicable).
- Ensure it is level and securely fastened, as it will support one side of the deck frame.
Attaching Joists:
- Use joist hangers to attach the joists to the ledger board and the support posts.
- Space the joists evenly, typically 16 inches apart, for a sturdy frame.
Adding Cross Bracing:
- Install cross bracing between the joists for additional stability.
- This is especially important for larger decks to prevent sway and movement.
“The framing is the most critical part of building a deck. If it’s not done right, everything else will suffer. Take your time to ensure everything is level and secure.” – Jane Thompson, Deck Builder
6. Installing decking boards
With the frame complete, you can now lay the decking boards that will form the surface of your deck.
Cutting the Boards:
- Cut the decking boards to the desired length, allowing for any overhangs.
- Use a circular saw for clean, precise cuts.
Laying the Boards:
- Start at one end of the deck and work your way to the other.
- Leave a small gap (about 1/8 inch) between each board to allow for expansion and drainage.
Securing the Boards:
- Use galvanized screws to secure the boards to the joists.
- Ensure the screws are flush with the surface of the boards to avoid tripping hazards.
7. Building stairs (if applicable)
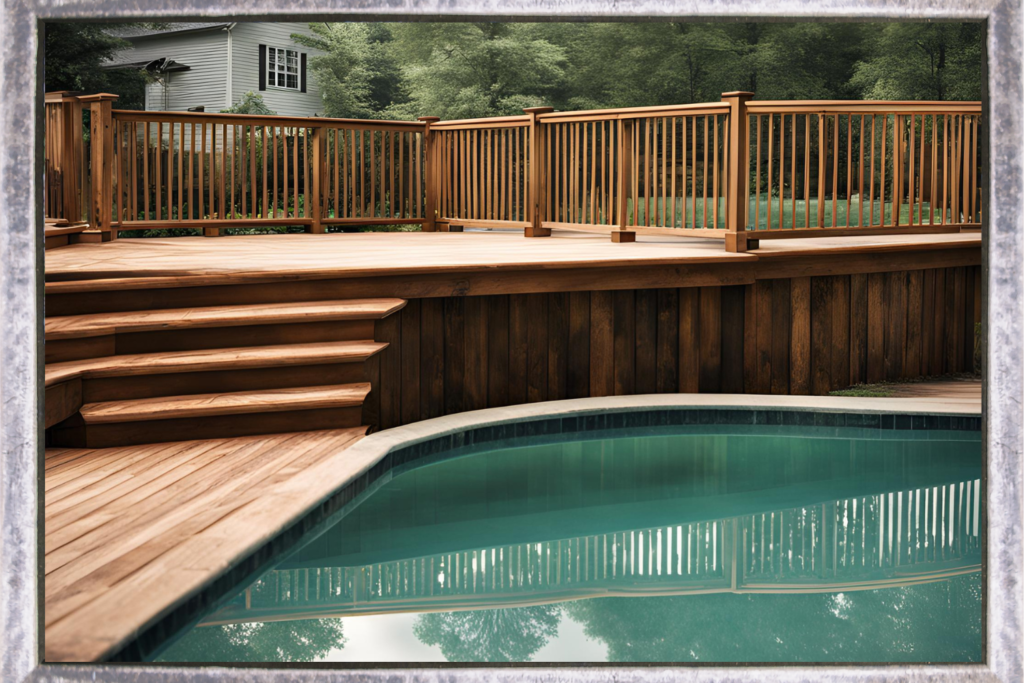
If your deck is more than a few feet off the ground, you’ll need stairs to provide safe access.
Planning the Stairs:
- Determine the number of steps needed based on the height of your deck.
- Calculate the rise (height of each step) and run (depth of each step) to ensure they are consistent and comfortable to use.
Building the Stringers:
- Cut the stringers from pressure-treated lumber.
- Use a framing square to mark the rise and run on the stringers.
Attaching the Steps:
- Attach the stringers to the deck frame and the ground.
- Secure the treads (the horizontal part of the step) to the stringers with screws.
8. Installing railings
Railings are essential for safety, especially if your deck is elevated.
Attaching Posts:
- Attach railing posts to the outer frame of the deck.
- Ensure the posts are evenly spaced and securely fastened.
Installing Top and Bottom Rails:
- Attach the top and bottom rails to the posts.
- Make sure the rails are level and properly aligned.
Adding Balusters:
- Install the balusters (vertical pieces) between the top and bottom rails.
- Space the balusters evenly and secure them with screws.
“Safety is paramount when building a deck, especially with railings and stairs. Follow all guidelines and double-check your work to ensure everything is secure and up to code.” – John Stevens, Pool Deck Specialist
9. Finishing touches
With the main construction complete, it’s time to add the finishing touches to your deck.
Sanding and Sealing:
- Sand any rough edges or surfaces to prevent splinters.
- Apply a water-resistant sealant to protect the wood from moisture and UV damage.
Decorating:
- Add outdoor furniture, lighting, and decorations to enhance the usability and appearance of your deck.
- Consider adding planters, a pergola, or an outdoor kitchen for added functionality.
Regular Maintenance:
- Inspect your deck regularly for any signs of wear or damage.
- Clean the surface and reapply sealant as needed to maintain its appearance and durability.
Building an above ground pool deck is a rewarding project that can significantly enhance your outdoor living space. By following these detailed steps and paying close attention to planning, materials, and construction techniques, you can create a beautiful and functional deck that will provide enjoyment for years to come. Remember, safety and compliance with local building codes are paramount, so don’t hesitate to consult with professionals if needed.
“A well-built deck can transform your pool area into a stunning outdoor retreat. It’s worth investing the time and effort to get it right.” – Michael Harris, Outdoor Living Designer
By following this comprehensive guide, you’ll be well on your way to building an above ground pool deck that not only meets your needs but also adds value and beauty to your home. Happy building!
Other articles you may find interesting. We hope you enjoy our tips, tricks, and ideas.
